A vanilla Typescript app for robotic camera control

Software engineer, backend developer, computational modeling researcher, and enthusiast in the field of digital electronics and robotics.
I have been researching ESP32 microcontrollers and their applications for IoT and found quite an interesting development board with a built-in camera module called ESP32-CAM. This $7 device also ships with integrated Bluetooth, WiFi, a few sensors, and a dual-core 32-bit CPU, which is even capable of running a streaming web server with basic face recognition features. It sounds like a DIY hobbyist's dream, right?
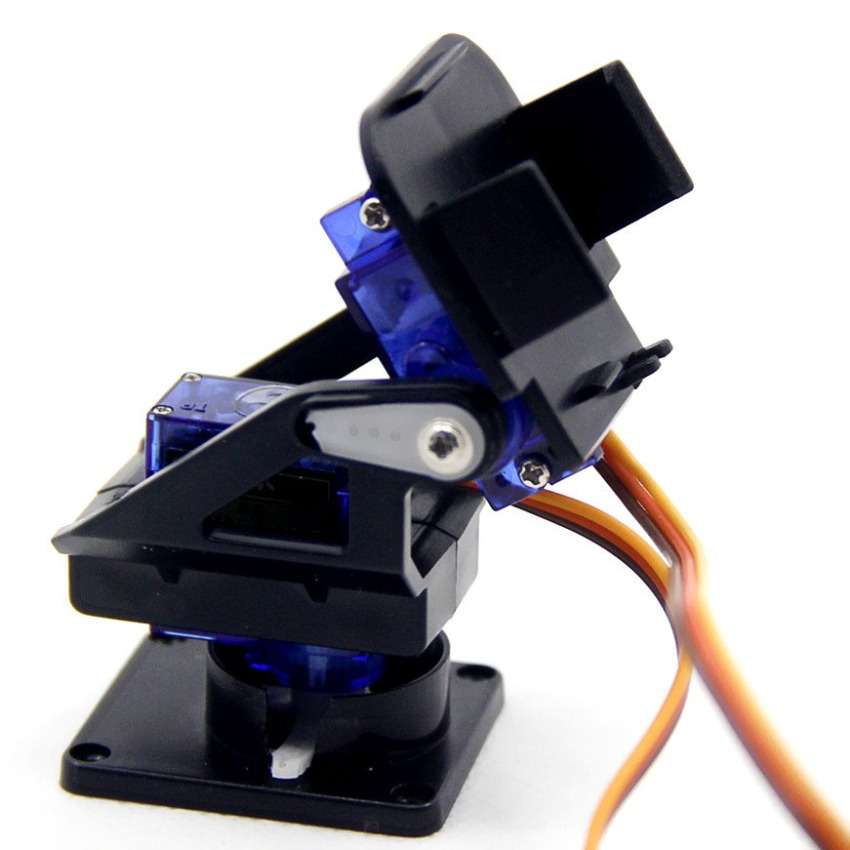
The board also has a few IO pins and is capable of controlling motors with PWM. This allows one to control the camera position and stream the video on the same device. So I had the idea of attaching the ESP-32-CAM to a pan-tilt contraption, which allows controlling the camera both vertically and horizontally via two servo motors.
Then I would develop a web server to be embedded into the chip which would both stream the video from the camera and provide a web app for controlling the motors.
I started by modifying the code from the CameraWebServer example provided by Espressif, which serves an HTML page with the video stream and many configurations. My modifications to the back-end code included some endpoints to configure the stream and control the motors. I also needed to provide a custom HTML page with proper controls to position the camera - the front-end part of my application -, which should be lean because the memory available on the chip is limited (so using a Javascript framework/library like React would not be recommended). Then I decided to start a separate project using vanilla Typescript, so I could manage a well-organized code that could be compiled into a lightweight Javascript application.
In the video below you can see the robotic camera setup working on my desk while I send positioning commands from the browser via the application being hosted by the ESP32-CAM chip.
How the application works
Before digging into the code, let's first take a look at the app UI and its functionalities. The image below shows the application layout on mobile devices:

And here's how the application looks on a desktop:
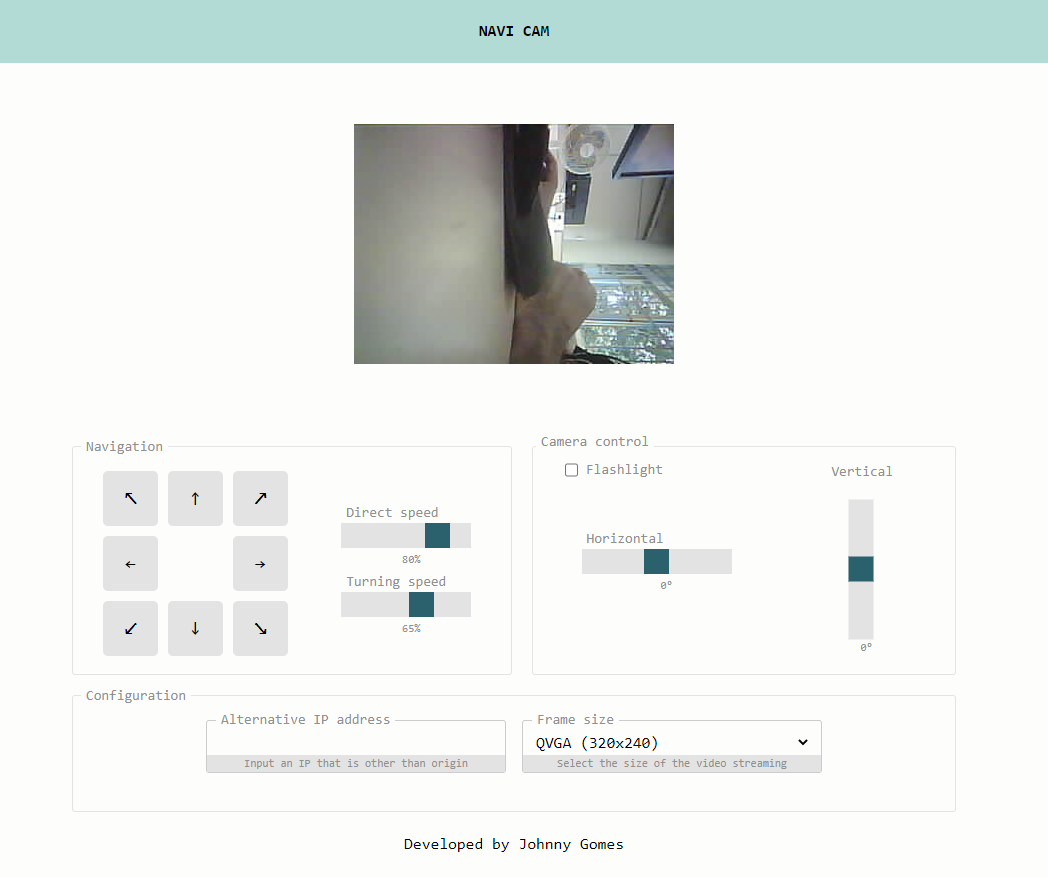
The UI is divided into four sections: streaming viewport, camera control, navigation, and configuration. The streaming viewport section shows the video being captured by the camera and streamed by the server. The camera control section is responsible to control the camera position and the state of the flashlight. If the pan-tilt structure is built onto a mobile robot, the navigation section can be used to control its movement (otherwise, you can just collapse the section by clicking on the icon in the upper right corner). The configuration section allows you to set the camera resolution and input the IP of the device in the network, in case you are not accessing the front-end application directly from the ESP32-CAM server.
Structure of the project
The project consists of a single HTML file, a few SASS stylesheet files, and Typescript classes to handle the application logic. The index.html file is placed in the public folder, which also includes directories for the .js and .css files generated from the build process. The src/app folder includes the source typescript files and the src/styles folder holds the .scss files.
📦navi-cam
 ┣ 📂public
 ┃ ┣ 📂assets
 ┃ ┃ ┣ 📂css
 ┃ ┃ ┣ 📂img
 ┃ ┃ ┗ 📂js
 ┃ ┗ 📜index.html
 ┣ 📂src
 ┃ ┣ 📂app
 ┃ ┗ 📂styles
 ┣ 📜gulpfile.js
 ┣ 📜package-lock.json
 ┣ 📜package.json
 ┗ 📜tsconfig.json
Building and running the application
A few NPM scripts are used to help with the development process:
"scripts": {
    "test": "echo \"Error: no test specified\" && exit 1",
    "tswatch": "tsc -w",
    "scsswatch": "sass --watch src/styles:public/assets/css --style compressed --no-source-map",
    "start": "concurrently \"npm run tswatch\" \"npm run scsswatch\"",
    "build": "tsc && sass src/styles:public/assets/css --style compressed --no-source-map",
    "dist": "tsc && gulp"
  },
The start task uses the concurrently library to watch the .scss and the .ts files, and to build the resulting public/assets/css/style.css and public/assets/js/index.js, respectively. Both files are included in the public/index.html, which can be provided by a live server during development. The build task just generates the files like before, but without continuously watching the source files. Finally, the dist task builds the project and uses a gulp script to pack all styles and scripts into a single HTML file, making it easier to be embedded into our ESP32-CAM server firmware.
The app container
The src/app/app.ts file is responsible to instantiate services and handlers. It also picks DOM elements from the public/index.html and injects them into the handler objects, so they can properly manipulate user events.
Handling the events
Each section of the app is controlled by a corresponding handler class. The handler classes' files are located under the src/app/handler directory. Let's take a look at the CameraHandler class as an example:
import { CameraService } from "../service/camera.service";
export class CameraHandler {
private horizontalHint: HTMLElement;
private verticalHint: HTMLElement;
constructor(
private cameraService: CameraService,
private rangeHorizontal: HTMLInputElement,
private rangeVertical: HTMLInputElement,
private checkFlashlight: HTMLInputElement
) {
this.rangeHorizontal.addEventListener('change', (event) => this.horizontalChange());
this.rangeVertical.addEventListener('change', (event) => this.verticalChange());
this.checkFlashlight.addEventListener('change', (event) => this.flashlightChange());
this.horizontalHint = <HTMLElement>this.rangeHorizontal.nextSibling?.nextSibling;
this.verticalHint = <HTMLElement>this.rangeVertical.nextSibling?.nextSibling;
}
flashlightChange(): void {
this.cameraService.setFlashlight(this.checkFlashlight.checked);
}
horizontalChange(): void {
this.horizontalHint.innerHTML = this.rangeHorizontal.value + '°';
this.updateAngles();
}
verticalChange(): void {
this.verticalHint.innerHTML = this.rangeVertical.value + '°';
this.updateAngles();
}
updateAngles(): void {
this.cameraService
.setAngle(parseInt(this.rangeHorizontal.value) + 90, parseInt(this.rangeVertical.value) + 90)
.then(
response => console.log(response),
error => console.error(error)
);
}
}
As you can see, three input elements and a CameraService are injected into the class. The handler adds onchange event listeners to the range controls (which set the camera angles) and the flashlight checkbox. These event handler methods make calls to the CameraService methods to send commands to the ESP32 server as the input values change.
Sending requests to the ESP32 server
The service classes are responsible to communicate with the ESP32 server by sending commands as the handlers detect actions from the user. All of them make use of a class called HttpService, which implements a method that encapsulates the creation and execution of an XMLHttpRequest. Take a look at the CameraService code, which provides methods for updating the camera angles and switching the flashlight of the camera:
import { HttpService } from "./http.service";

export class CameraService {

    constructor(private httpService: HttpService) {}

    public setAngle(horizontalAngle: number, verticalAngle: number): Promise<string> {
        return this.httpService.get<string>(`/servo?hor=${horizontalAngle}&ver=${verticalAngle}`);
    }

    public setFlashlight(on: boolean): Promise<string> {
        return this.httpService.get<string>(`/flash?value=${on ? 1 : 0}`);
    }

}
The endpoints /servo and /flash are both defined on the server firmware, being responsible to update the angles of the servos and switching the camera flashlight, respectively.
Showing the camera stream
The video feed can be accessed by the endpoint /stream provided by the ESP32 server on port 81. In our frontend application, the video stream is shown in an img HTML element by setting its src property as the stream URI in the StreamingHandler class:
import { env } from "../env";

export class StreamingHandler {

    constructor(private viewport: HTMLImageElement, private waitingElement: HTMLElement) { ... }

    setupVideoStreaming() {
        console.log('Location origin: ' + location.origin);
        const streamingUrl = (env.alternative_base_uri || location.origin) + ':' + env.streaming_port + env.streaming_uri;
        this.viewport.src = streamingUrl;

        this.viewport.style.display = 'block';
        this.waitingElement.style.display = 'none';

        console.log('Streaming url: ' + streamingUrl);
    }

}
Deploying the UI application
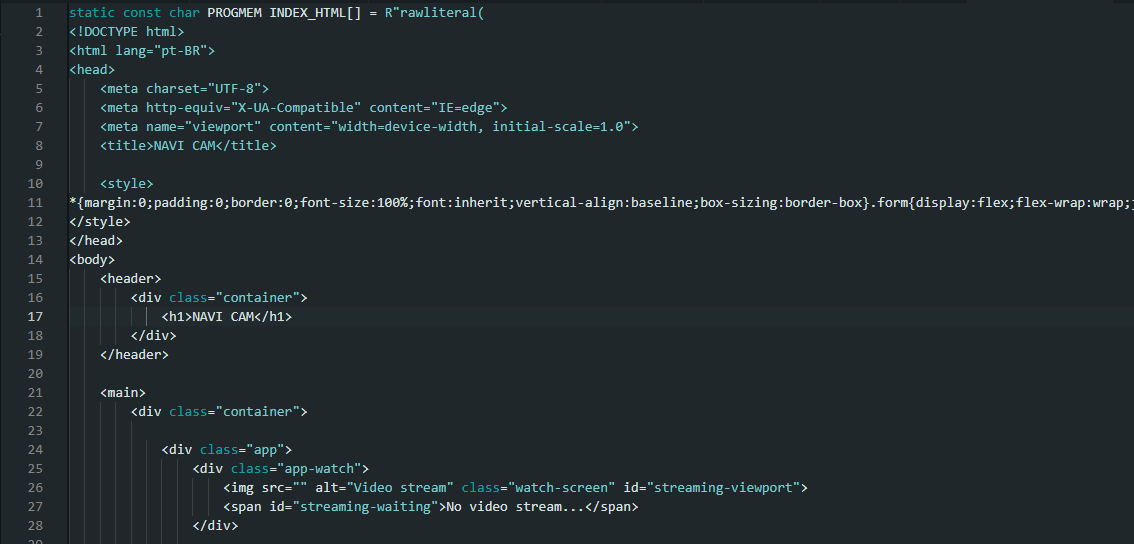
The firmware project is written in C++ and built using the Arduino IDE. The program sets up an HTTP server that provides an index.html page, a few control endpoints and a video stream. The index.html source code must be generated by the Typescript project and pasted into the index_html_content.h header file as shown below:
If you have gulp installed, running npm run dist makes all CSS and javascript code be compiled and included in the resulting dist/index.html file. Otherwise, you can run npm run build so the CSS and Javascript compilation will occur and you can manually embed the resulting .css and .js files found in the public/assets folder into a copy of the public/index.html file. The resulting HTML page size will likely be under 40 kB.
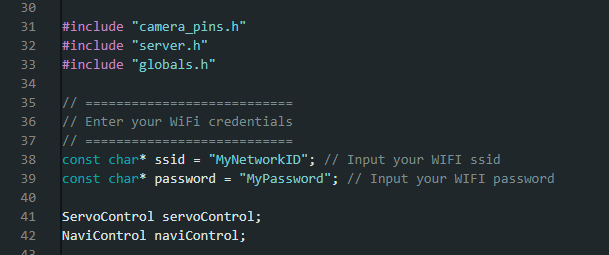
After pasting the resulting HTML code into the firmware source code, you can also input your WIFI network credentials in the main file esp32-cam-navi-firmware.ino and build/upload the firmware into the ESP32 device using the Arduino IDE.
Conclusion
In this article, I've shown how I structured a vanilla Typescript project to create a front-end application for a robotic camera using the ESP32-CAM and two servo motors. Using vanilla Typescript allowed me to organize the management of multiple events into separate classes while keeping the resulting web page lean enough that a small SoC like the ESP32 could easily handle it. The Typescript app source code can be found on GitHub, as well as the ESP32 firmware code used in this project.


